Join Human1st newsletter
Get free Facilitation tools, news, methods and resources right to your inbox.


As a project manager, jumping on a fresh task is like an adventure. Like an explorer in an unfamiliar territory, you’re excited about the possibilities of discovering innovative solutions to the challenge before you. But as you progress, you find out that the collaboration process is more daunting than thrilling.
From endless arguments about the best ideas to certain team members feeling left out and everything in between, project facilitation can quickly take a nose-dive for the worse. At the end of the collaboration session, participants leave with nothing other than discouragement and zero zeal to implement solutions (if the team was lucky enough to arrive at one).
Can you relate to this? If yes, we feel your pain too. We too have had to endure a series of frustrating brainstorming sessions that are better described than experienced.
Fortunately, all that is a thing of the past and we’re happy to share what works with you. That’s right, you too can kiss goodbye to all (or at least most) of the challenges that come with collaboration by simply following our tested and trusted blueprint. We love to call it the “Problem Framer” workshop.
Learn everything you need to know about this effective, easy, and time-saving problem-solving technique for project facilitators below.
Index
1. Problem Framing Workshop: Define the Real Challenge in 30 Minutes
2. Workshop Overview
3. Step 1: Draw a Boat
4. Step 2: What's moving us forward?
5. Step 3: What's holding us back?
6. Step 4: Create the Challenge
7. Conclusion
Problem Framing Workshop: Define the Real Challenge in 30 Minutes
The issue with most project facilitation processes is that facilitators have not learned the power of a great structure like explorers have learned to use their maps. Without a guide like Problem Framer to help you streamline exercises and align the team to the goal, your efforts are bound to fail.
Problem Framer is our best leverage for fixing the broken defaults of collaboration. With this approach, you can help your team work through several undefined challenges to arrive at a perfect solution in the simplest and fastest of ways. Problem Framer enables the team to approach challenges differently, eliminate distractions, and remain focused on only the key aspects of solution-finding.
To start, imagine that you work with a digital technology company. Then, a client approaches your team because they're having difficulty completing tasks faster. In solving this challenge, Problem Framer requires you to use the typical “Sailboat exercise” to get a solid idea of the problem at hand before deliberating on what matters the most.
Confused? Don't be. You're about to learn how to implement Problem Framer.
Workshop Overview
| Workshop Name | Problem Framer |
| Workshop outcome | Clearly define challenge for team to ideate on. |
| Time | Approx 30 minutes |
| Participants | Minimum 2; Maximum 10 |
| Materials needed | - A whiteboard (you can use a flipchart if you prefer) - A block of square sticky notes for each participant - 1 sharpie per team member - Voting dots - Timer |
Step 1: Draw a Boat
Time: 1 Minute
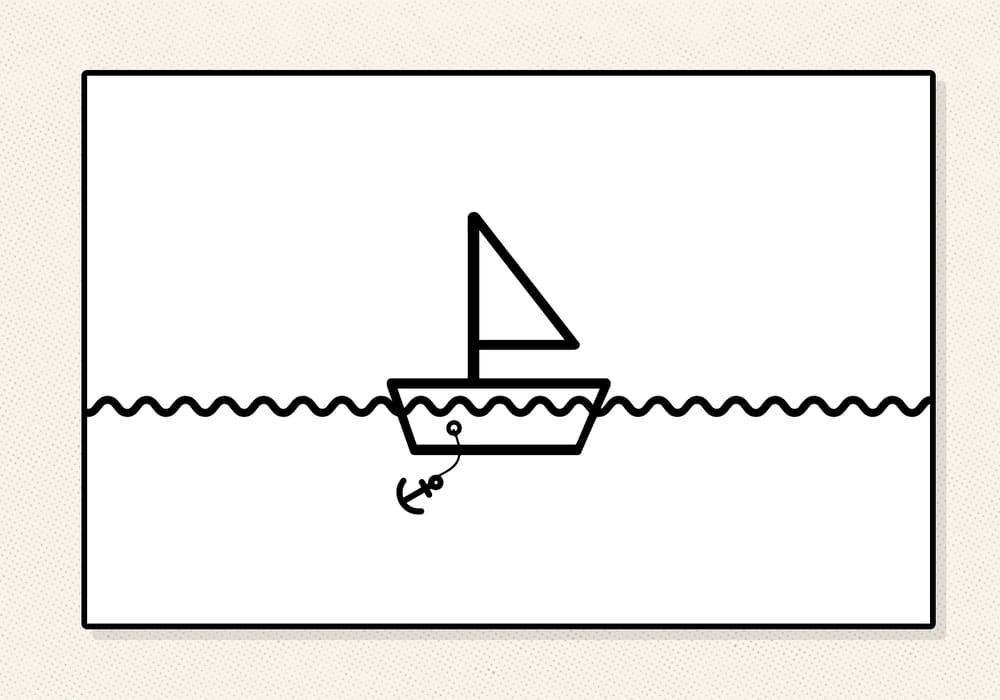
All that is required of you in this step is to draw a sailboat on the whiteboard or flipchart. Ensure that it has an anchor beneath and some water as you can find below. Then, move on to the next step right away.
Step 2: What's moving us forward?
Time: 10 minutes
The sailboat is a helpful metaphor that helps us, the team, to understand what moves us forward (the wind in the sail) and what holding us back (the anchor in the water) when it comes to the challenge presented at the beginning of the workshop.
This can be a great warm up to kick-off the workshop. To do this:
1. Equip each participant with a sharpie and a block of square sticky notes
2. Let them think in relation to the challenge before the team and silently put down about 5 advantages they believe the team has (you can ask, “As it relates to the difficulty in completing tasks faster, what things do you think are moving us forward?”)
3. The team should write a positive per sticky note in simple words
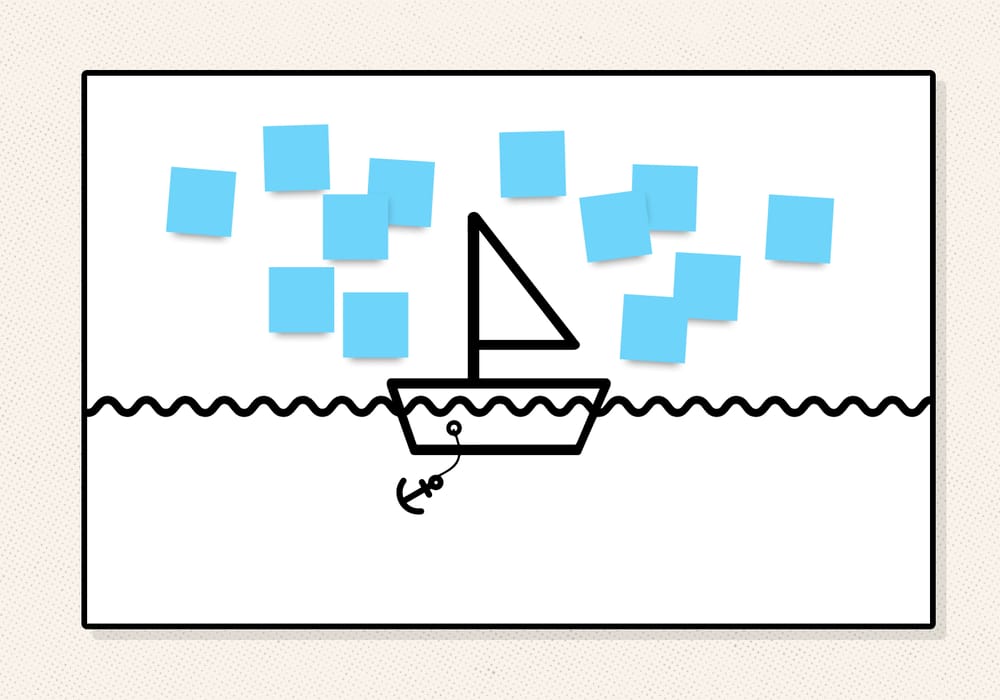
4. After 3 minutes, get each participant to place their sticky note on the top half of the sailboat one after another, reading what they wrote as they do
5. When they're done, the sailboat should look like this:
Step 3: What's Holding Us Back?
Time: 10 minutes
Now it's time to address the negatives (the factors that are holding the team back). This process is different from step 2 in the sense that it eliminates presentation. Instead, it follows the 10 for 10 patterns, ensuring the group works anonymously or “together alone.” This ensures that they can write what they truly think without fear of the other participants’ opinions.
Here's how to handle this stage:
1. Instruct the group to write on “the things holding us back” in as many sticky notes as possible within 8 minutes (for example, you can ask, “Concerning the duration of task completion, what's making us lag?”
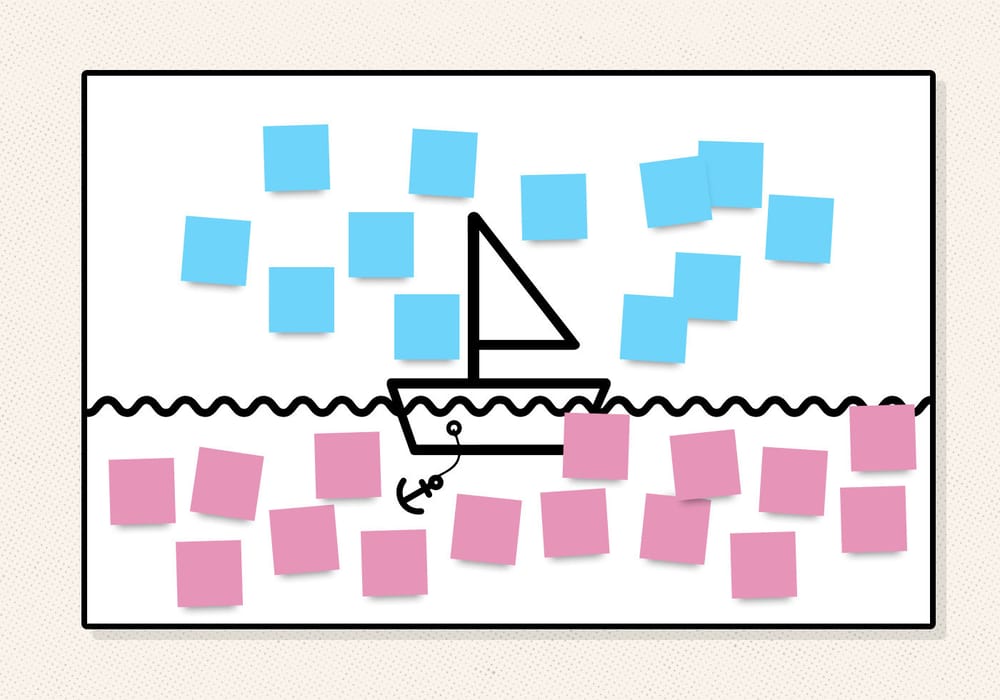
2. When the allocated time elapses, ask them to stick their notes on the bottom half of the sailboat (Remember, they're to do this without presenting or discussing what they have written and the notes should be placed randomly)
Note: Participants can spread the sticky notes across the entire bottom half of the whiteboard if the space beneath the sailboat isn't enough.
3. Without explaining or discussing anything, watch out for duplicates and remove them from the board (this must be done by no one else but you)
Step 4: What's the holding us back?
Time: 8 minutes
Do you remember the pattern in the 10-minute brainstorming workshop? Then you'll notice that Problem Framer follows a similar order: Write alone - Place sticky notes on the whiteboard - Voting - Prioritize. So, you must have already guessed that you're right in the voting stage now.
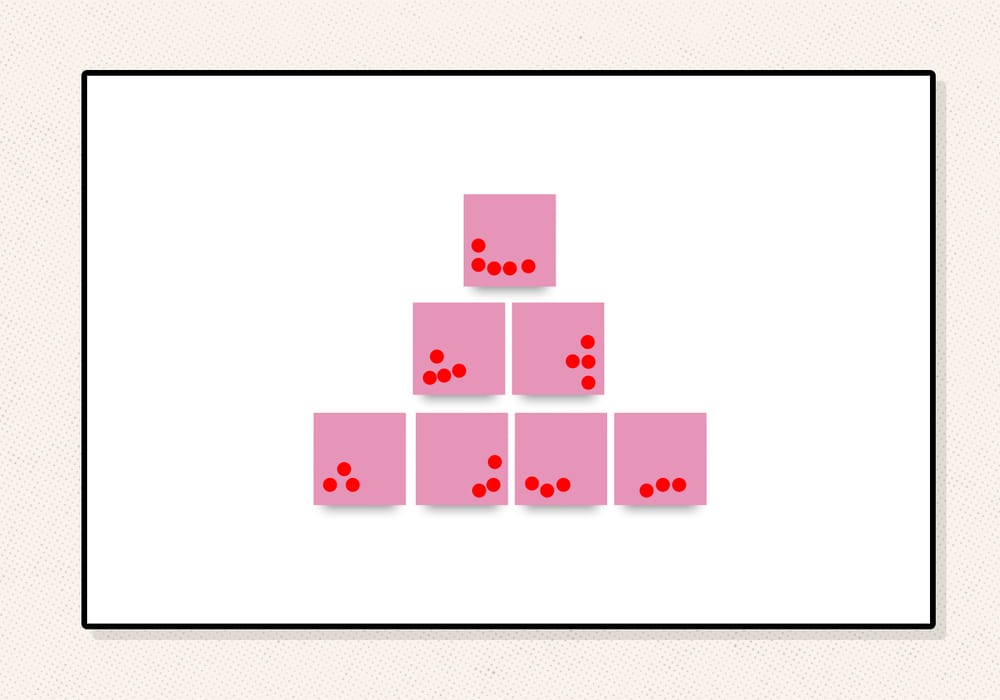
Let each participant have 8 voting dots. Instruct them to vote on what they think is causing the most trouble from the negatives on the bottom half of the board. These are the voting rules:
- They're allowed to vote their own stickers
- They can place as many votes on one sticky as they wish
- They must use all their voting dots
- No discussion
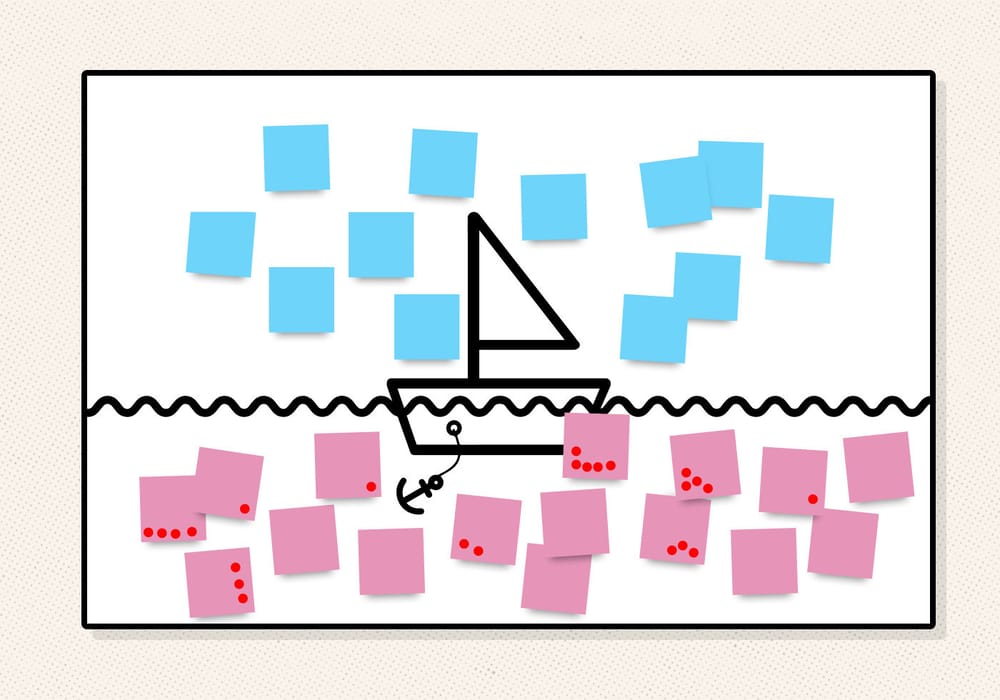
After 8 minutes, everyone should have their seats. Instruct them to arrange their sticky notes vertically from the most voted to the least. They can exclude the stickies with less than 3 votes.
Step 5: Create the Challenge
Time: 5 minutes
Congratulations, you're now in the last step of the Problem Framer workshop. Now, take some time to reflect on the process so far and how much more seamless it is compared to the traditional methods you employed in the past.
Unlike your previous techniques, there was no room for arguments and time wastage using Problem Framer. In less than 30 minutes, the team has already agreed on the most pressing challenge to address. Is this where we hear you say a big THANK YOU? You're welcome!
Now, all that is left to do is transform the negative statements into actionable points. Here's how:
1. Start working on the most voted sticky note (begin with the one on the top left if it's more than one).
2. Transform the challenge into a “How Might We” question (For example, assuming the sticky note reads, “There are not enough digital resources to accelerate their work,” you can rephrase it like this, “How might we ensure that our clients are equipped with the essential digital tools to speed up their tasks?”
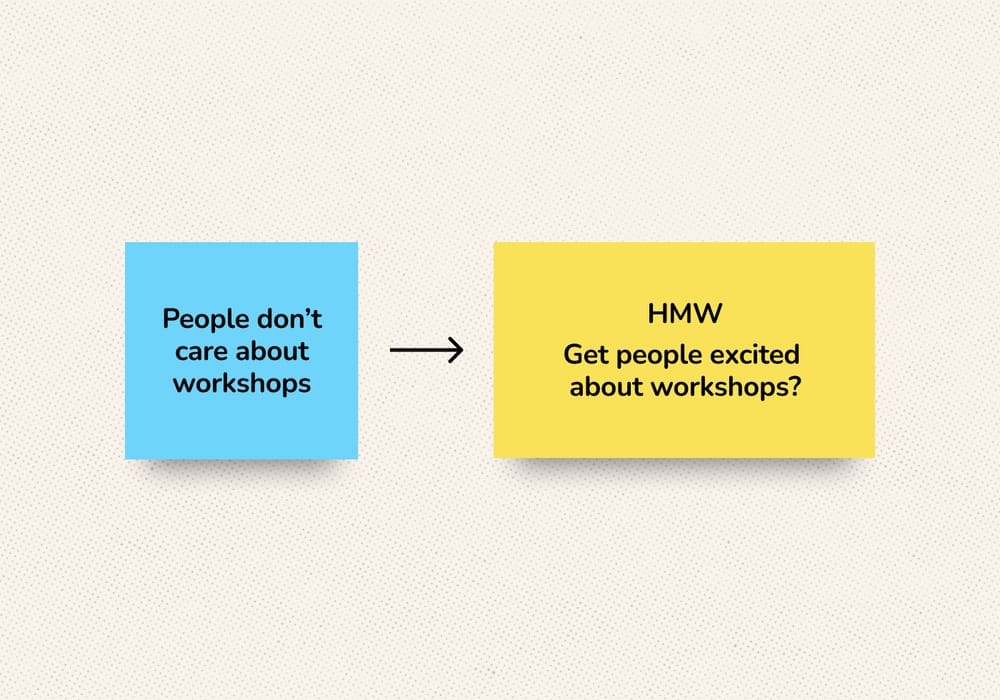
Repeat this process with other questions on the priority list. Viola, you have perfectly framed the most pressing problems in a way that spurs the team to action.
Note: You can download a free template for the Miro board for this exercise here.
Become a trusted & in-demand facilitator
Conclusion
Problem framing is simply a structured approach to handling challenges in a project. It helps team members properly understand and analyze problems in a way that makes solution-finding a breeze. With problem framing, the primary aspects and scope of a challenge are identified, ensuring that the desired outcome is reached in no time.
Does this sound like bliss to you?
Then, immediately jump right on it and facilitate your first problem framer workshop. We'd love to hear all the amazing feedback you're sure to give!
Plus, you can also try the easy 10 for 10 and Action Board workshops to complement the Problem Framer exercise.
FAQ
What is a problem framing workshop?
A problem framing workshop is a short session where your team agrees on the one challenge worth solving before you brainstorm. You map what helps and what holds the team back, vote on the biggest issue, and turn it into a How Might We question.
How long does a problem framing workshop take?
Plan for about 30 minutes. You spend 1 minute drawing the boat, 10 on what moves the team forward, 10 on what holds it back, 8 on voting and 5 on writing the challenge. Add a few minutes for setup, and the whole thing fits into one meeting slot.
How many people do you need?
You need at least 2 people and no more than 10. With more than 10, voting gets messy and quieter people stop sharing what they think. If your group is bigger, split it into smaller groups and compare the challenge each group picks at the end.
What do you need to run it?
You need a whiteboard or flipchart, sticky notes, one marker per person, voting dots and a timer. Each person gets 8 voting dots. Running it online? Use a free Miro board with the same layout, and use digital sticky notes and votes instead.
What do you do after you frame the problem?
Turn the top-voted sticky note into a How Might We question, then bring it to a brainstorm. A 10 for 10 workshop works well for ideas, and an Action Board helps you pick next steps. Frame the problem first, then come up with ideas, then decide.
Join Our Free Resources Newsletter
Join the Human1st newsletter to get free Facilitation tools, news, methods and resources right to your inbox.


© Copyright 2026 Human1st